A delicious Cinnamon Crumb Cake recipe I made whilst at home with the kids, and some pretty creative uses we discovered for baking paper too!
I have loved spending more time with the kids at home these last couple of months, and one of the things I’ve probably loved the most is cooking with them. We recently made this Cinnamon Crumb Cake recipe (which we also made into muffins!) and came up with some creative and practical hacks for baking paper and cling wrap whilst we were making it too!
In partnership with GLAD
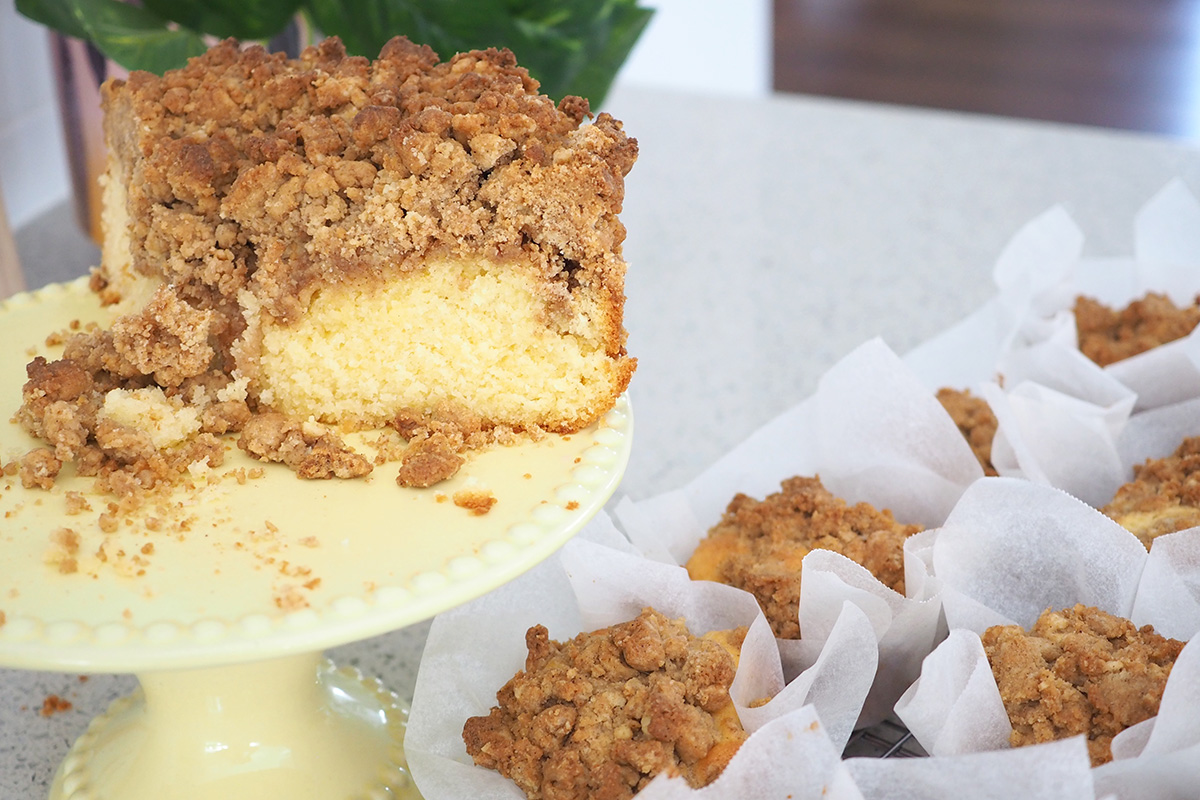
This recipe made both a cake AND 12 muffins from the same one batter, which meant there was a cake to enjoy for morning tea with a cuppa, and muffins that I could pop in the freezer for the kids to snack on throughout the week. It was such a time saver! Once school is back, I will make this again and simply pop these frozen muffins straight into the kid’s school lunch boxes so that they’re perfectly defrosted and fresh for snack time.
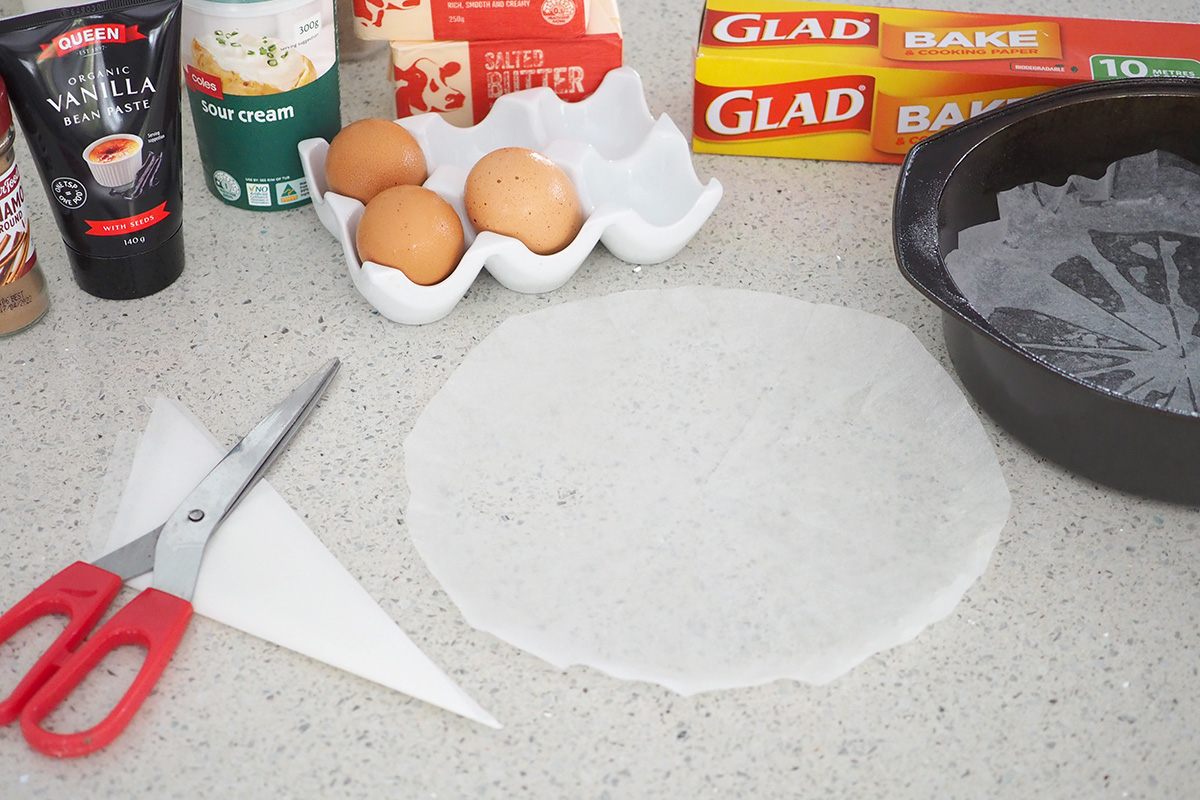
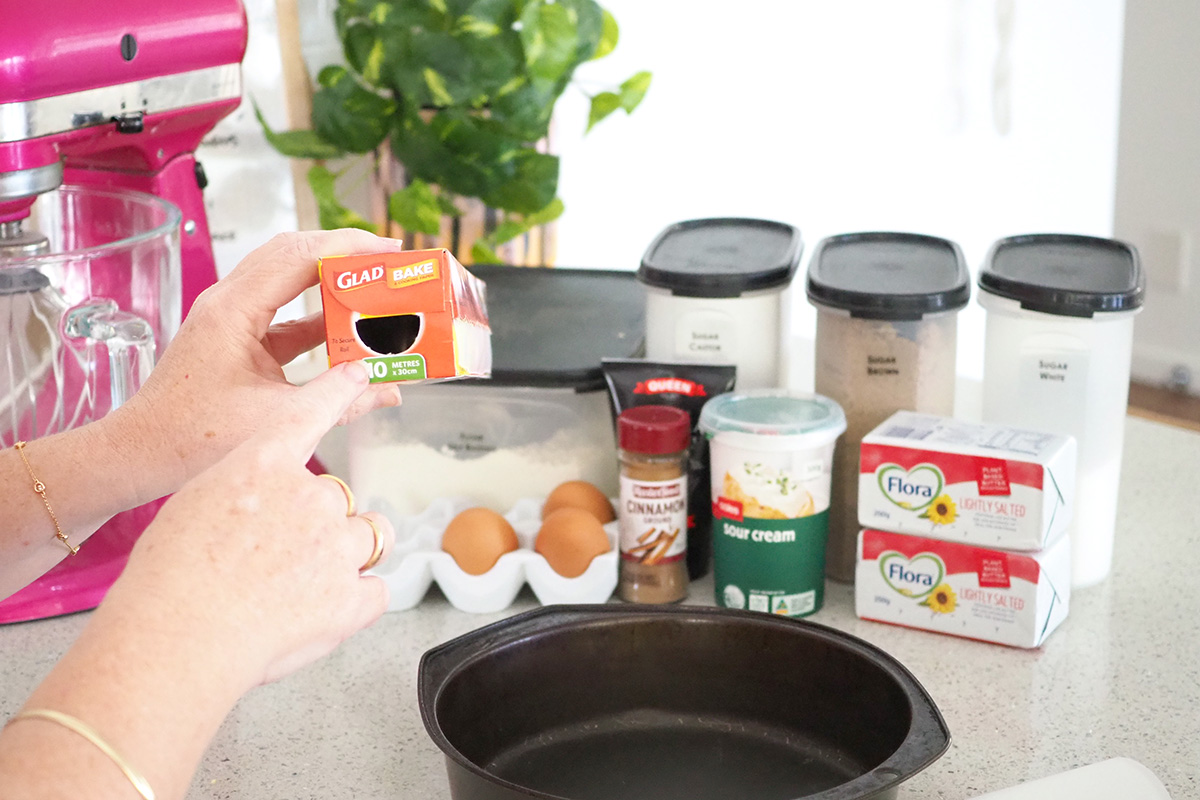
These are all the ingredients you’ll need for this recipe. I used vanilla bean paste, however you can use vanilla extract just double the amount. 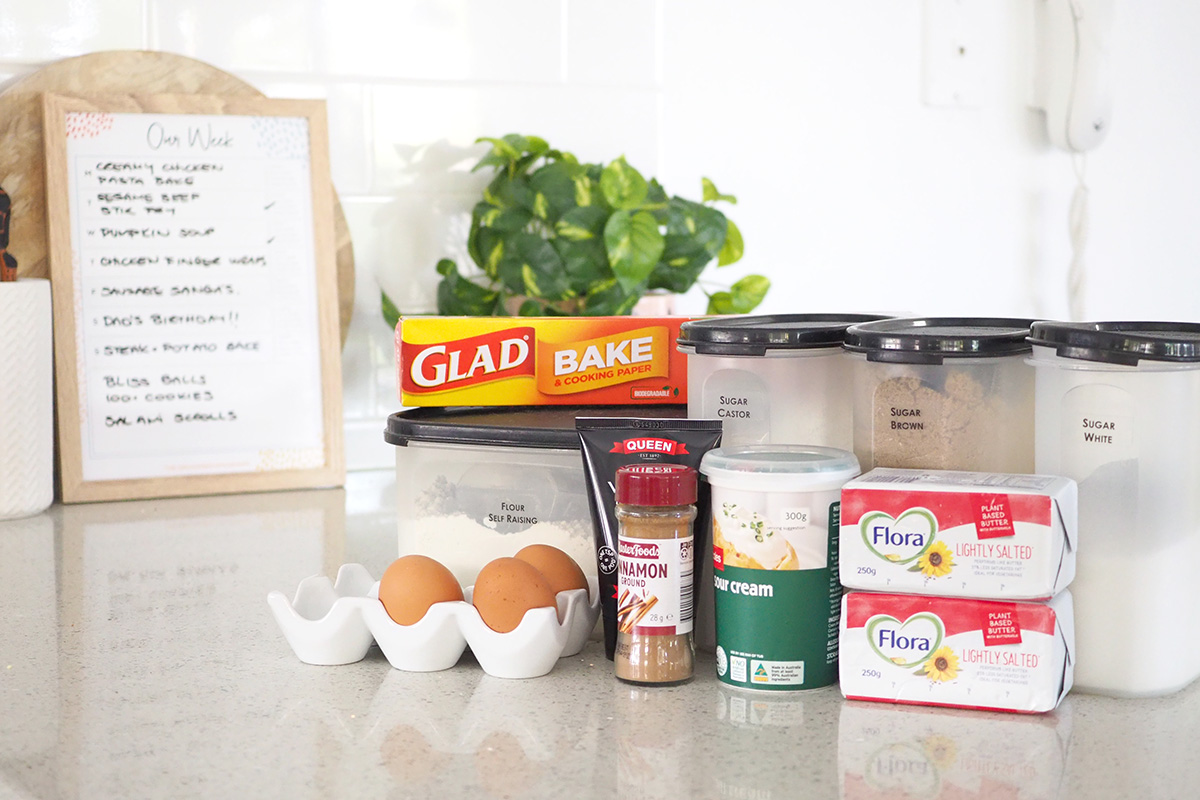
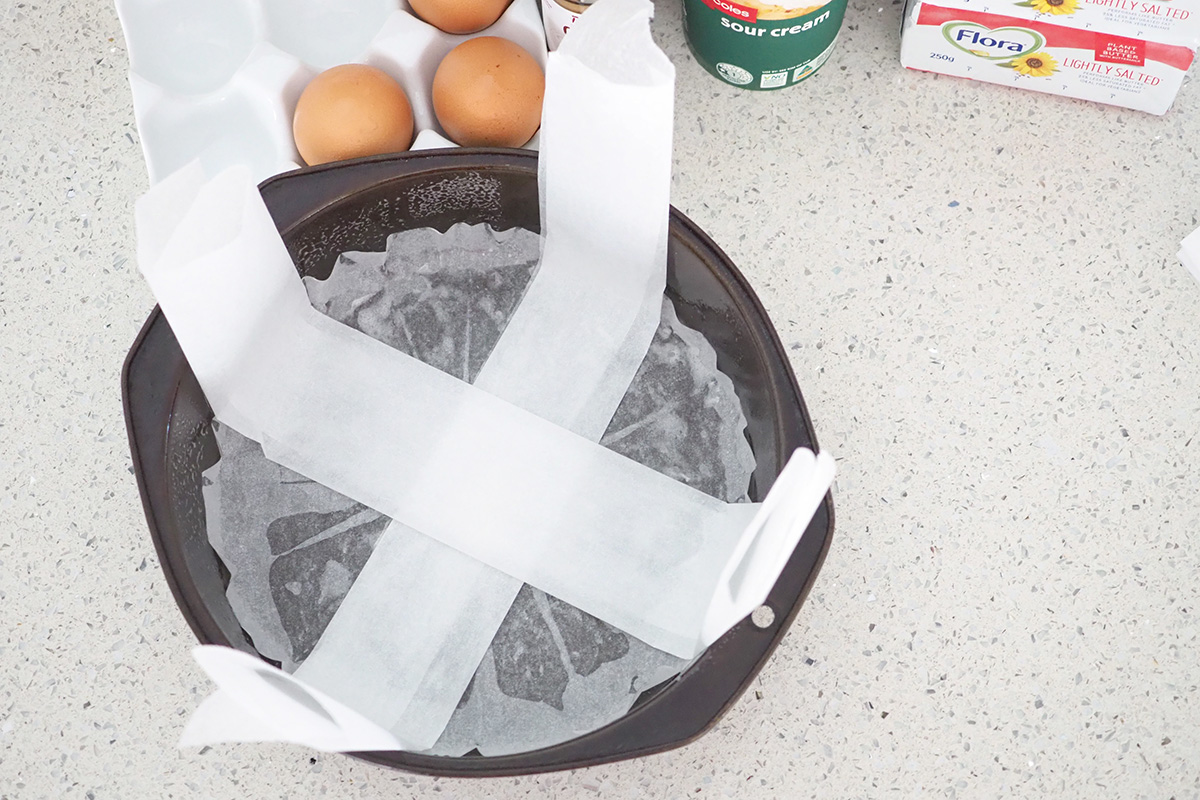
This recipe would be ideal to make in a springform tin, however, mine rusted and I threw it out recently, which led me to this very clever hack for removing a cake delicately from a cake pan using GLAD Bake and Cooking Paper, which you’ll find at your local supermarket.
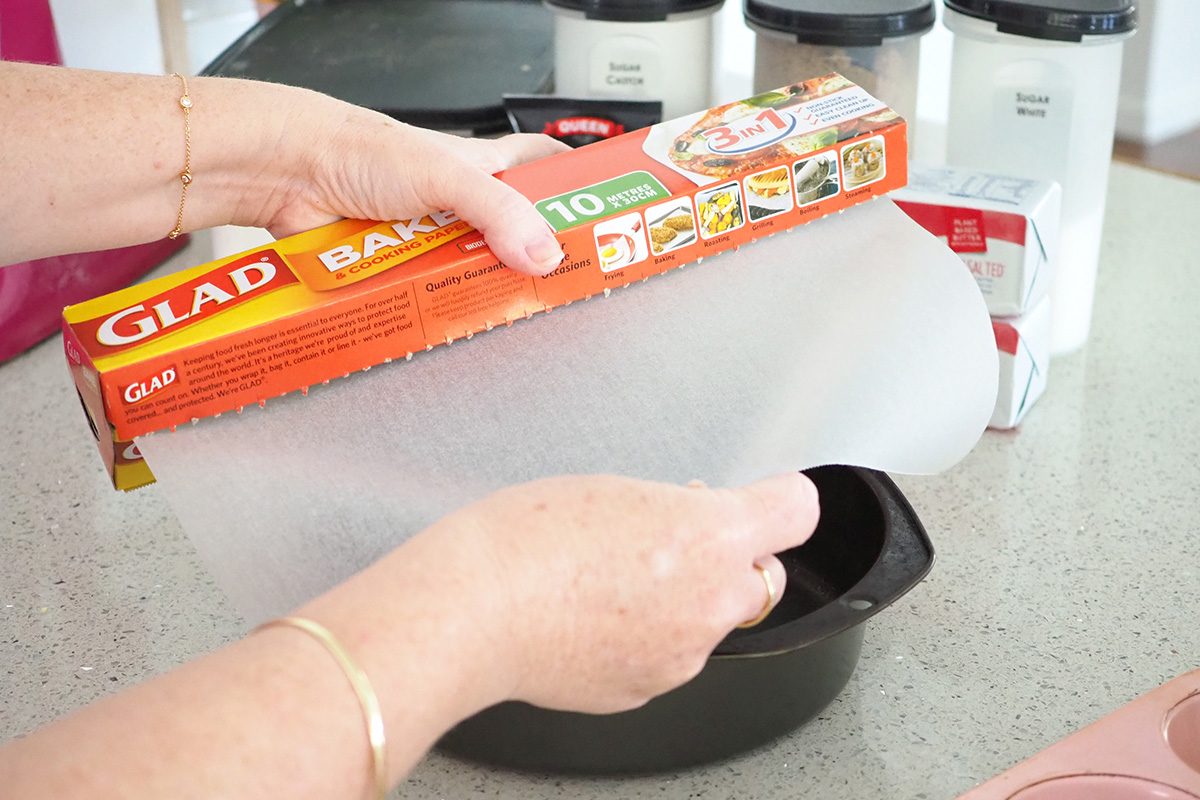
You can check out my IGTV for a video that shows you just how I did this. Put simply though, you fold your baking paper into triangles, place the point in the centre of your baking tray, and then cut the baking paper where it meets the edge of the cake pan. Open up your GLAD Bake and Cooking Paper and you’ll have a round liner for the bottom of your pan. I sprayed the pan with cooking spray to help the baking paper stick to the pan, but you could eliminate this step if you wish.
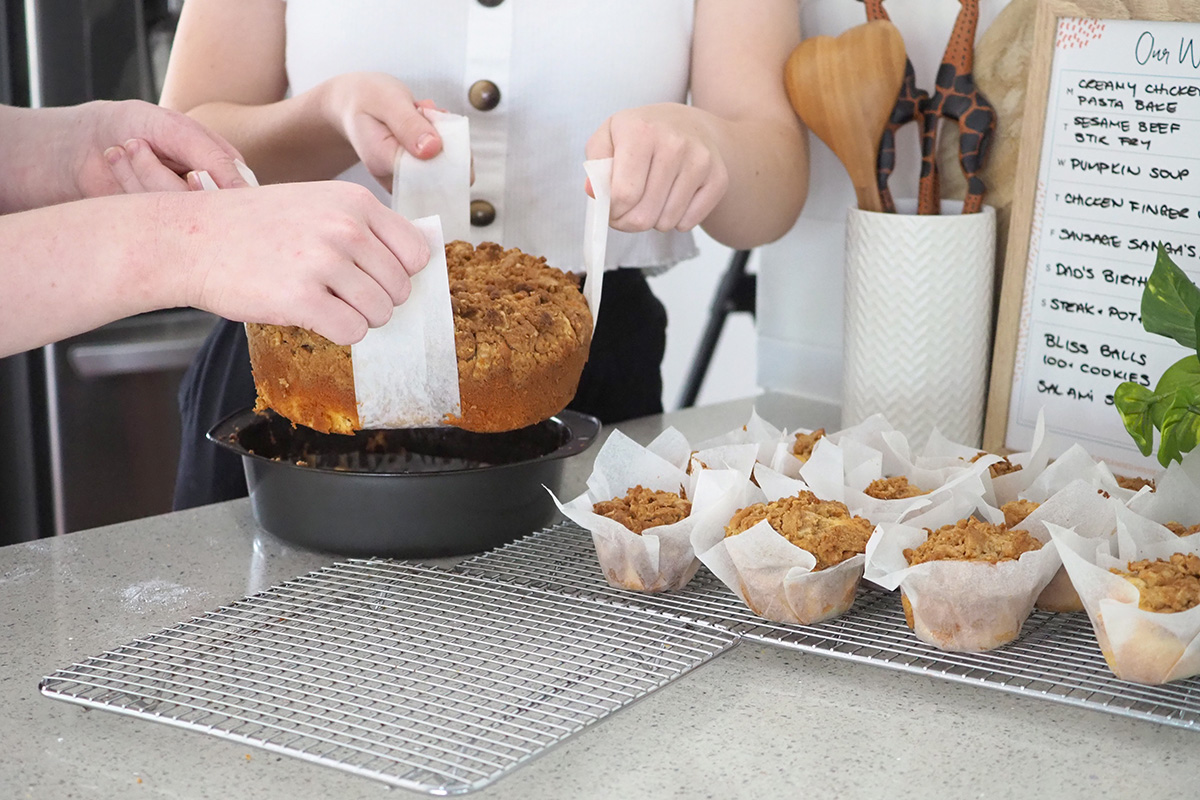
Normally when I get a cake out of the cake pan, I ease it out by putting the pan upside down either in my hand or on the cooling rack. This cake had a crumb top though – and I didn’t want to lose the crumb – so I added strips of baking paper to the cake pan which meant I could easily lift the cake out when it was done. Pretty clever hey?! I have to thank my daughter for showing me this clever hack!!
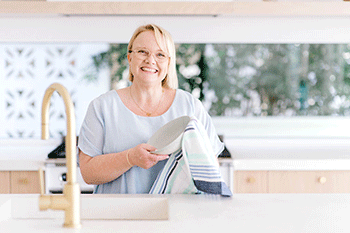
I always encourage my kids to get in and help in the kitchen – something we’ve had lots of time to do more of lately! It’s a great opportunity for us to have a chat and a giggle together.

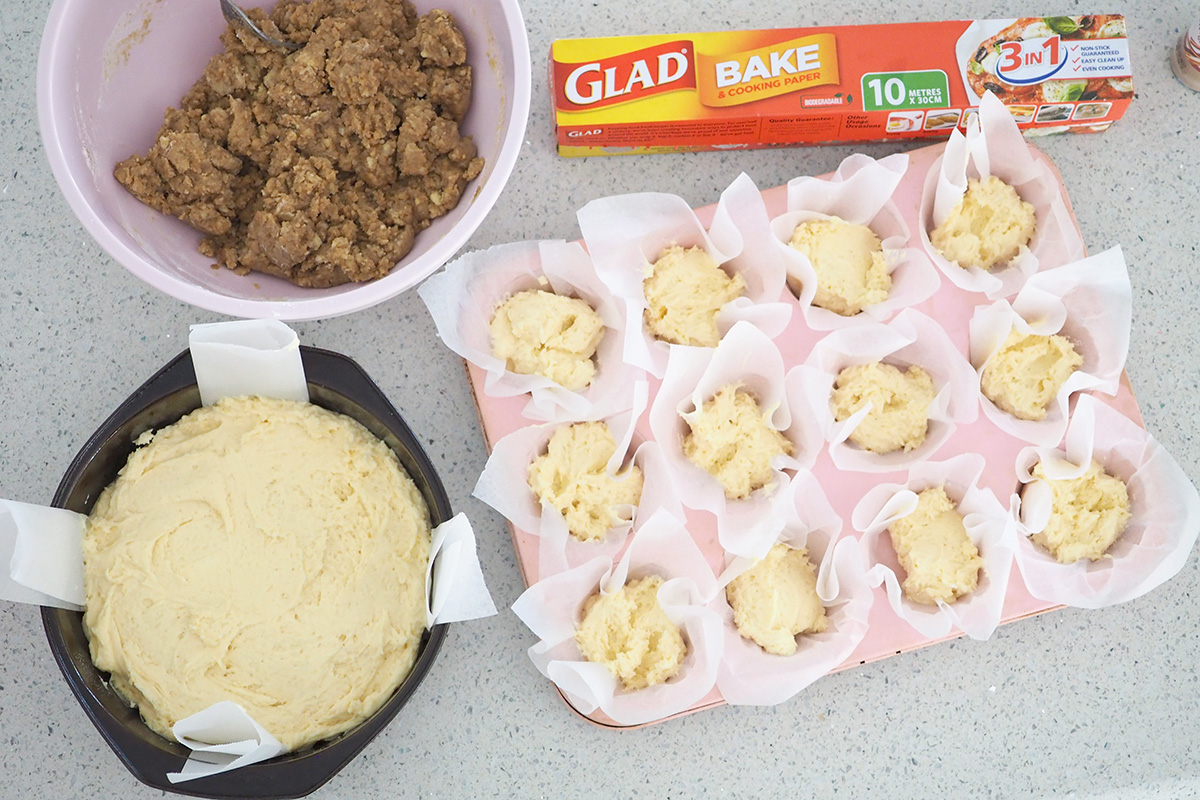
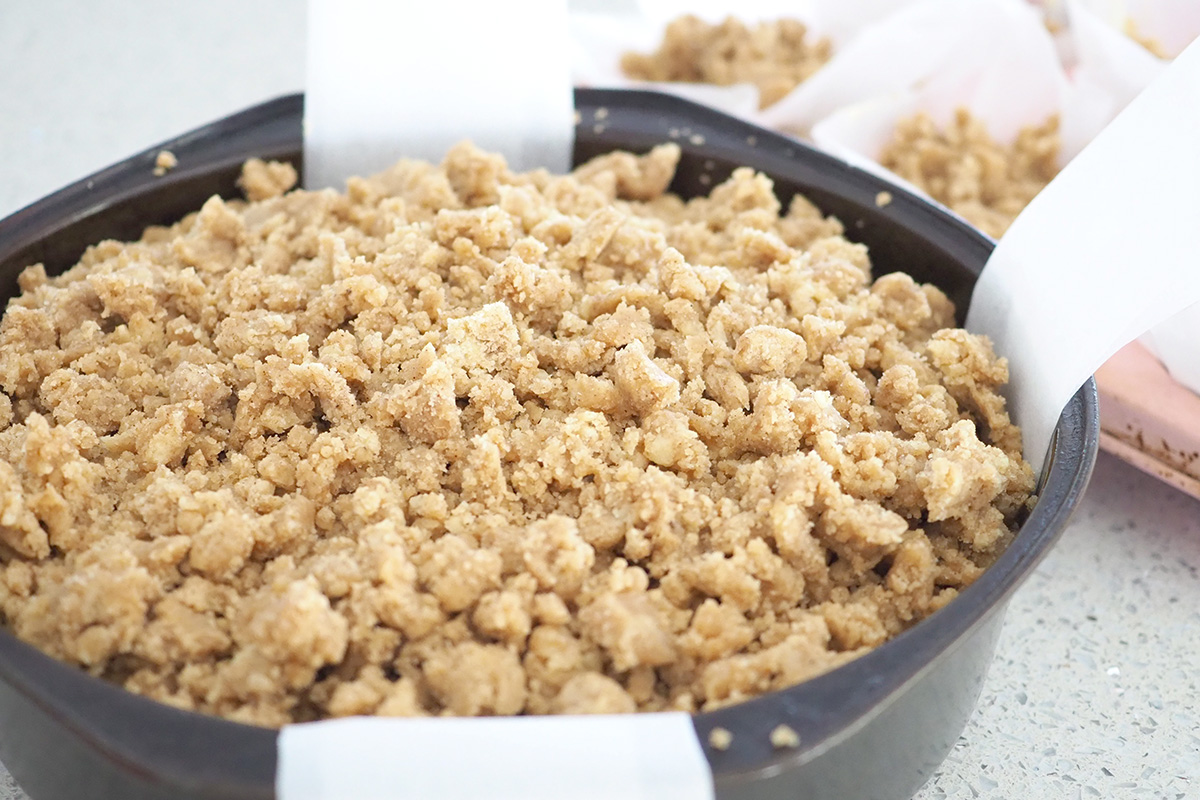
You’ll find after you mix the crumb ingredients together it will be wet, however, if you set it aside while you make the batter it will harden up, which is what you want because it will make it easier to crumble onto the cake. Remember not to over mix the crumble as you want it lumpy.
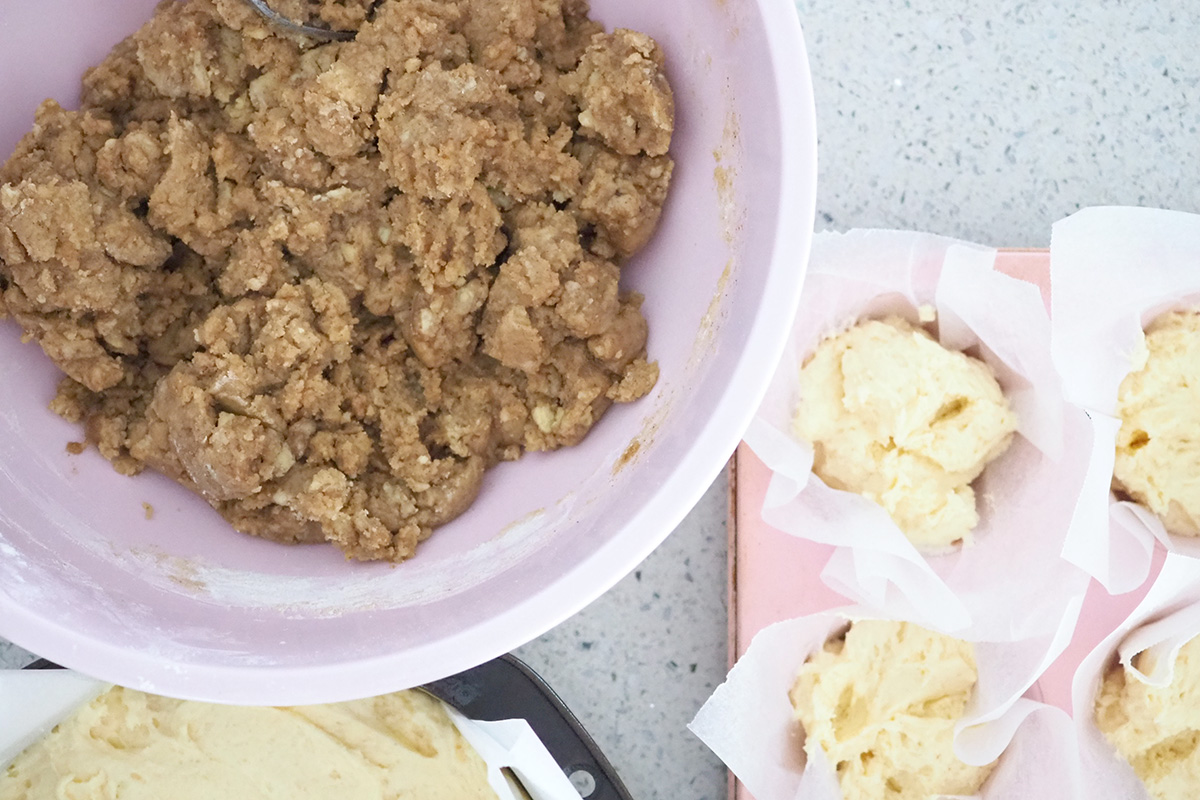
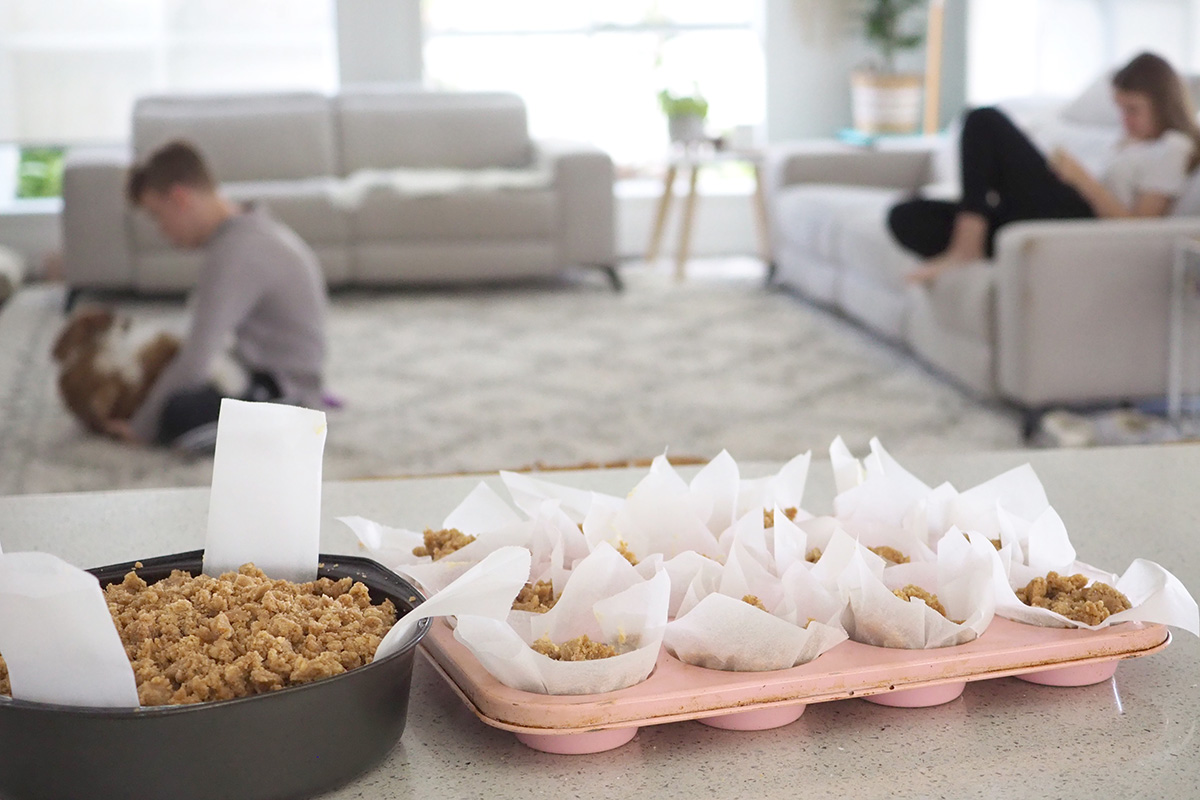
If you don’t have any paper muffin cases on hand you can use baking paper for this too! Simply cut the baking paper into squares and put into the muffin holes. This is also better for the environment, because GLAD Bake and Cooking Paper is biodegradable – unlike most paper cases.
I put the batter into my muffin tin first, then put the remaining batter into the cake pan.
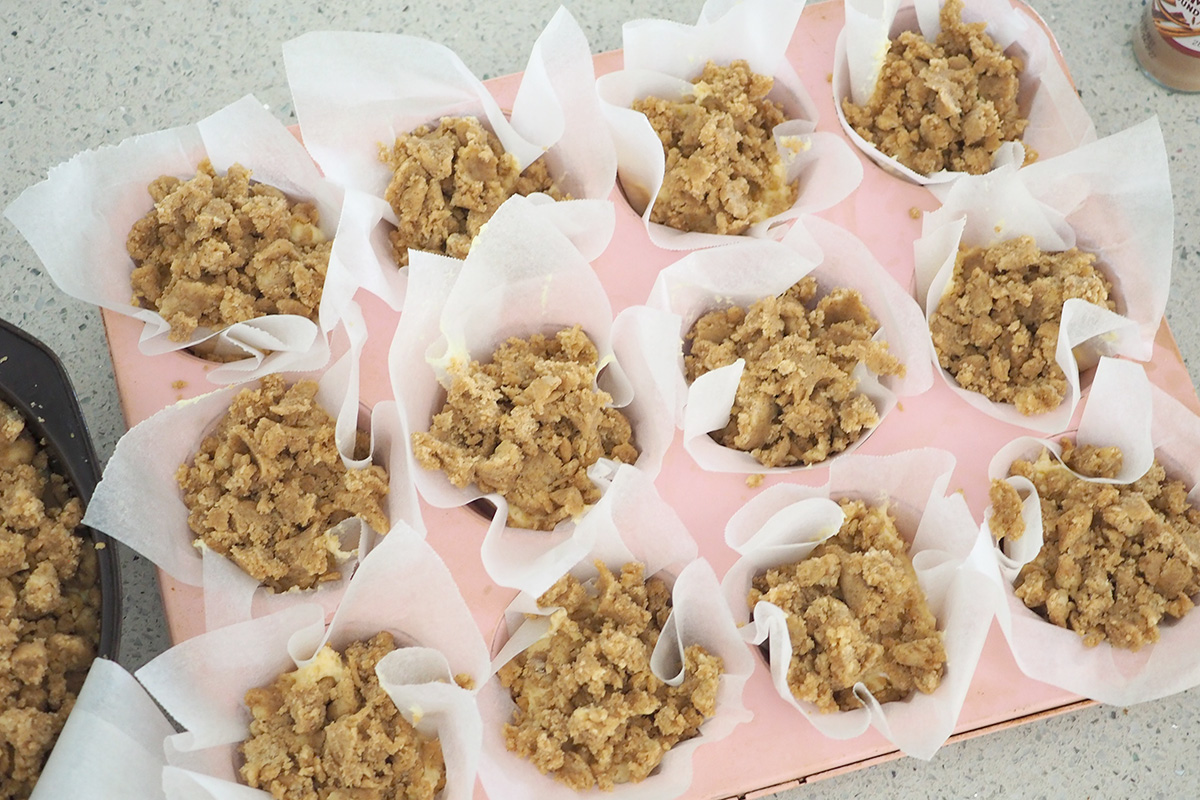
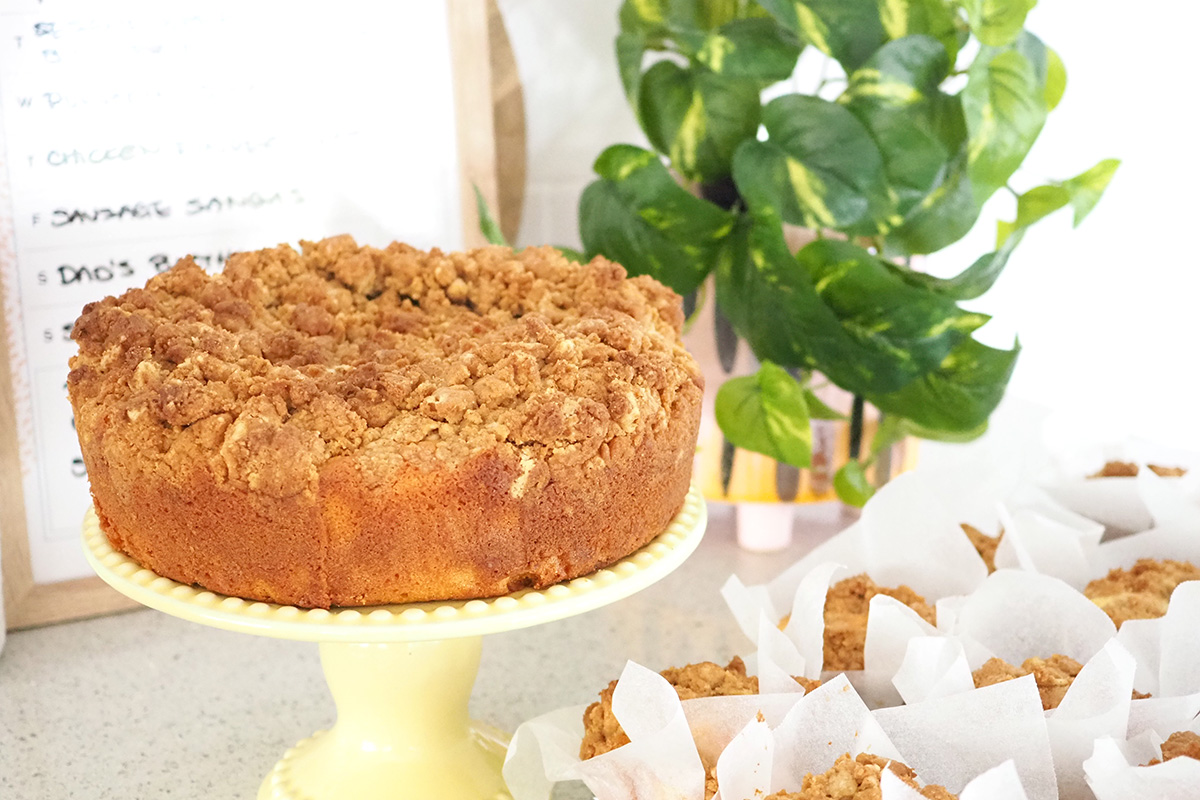
I don’t think you can have too much crumb for this recipe – the crumb is sooo good!
After the kids helped me make this cake, I noticed that they didn’t leave… they just seemed to hang around waiting until the cake was ready to eat – LOL!
Once the cake is cooked, it is really easy to lift out of the pan with the baking paper – although you’ll need the kids for this part as it’s much easier to do with two people.
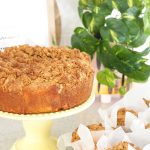
This cake is also just as delicious reheated for dessert, although as you can see it didn’t last long in our house!
More Clever Hacks!
Another hack – which some of you may already know this one – is this tab that GLAD have on the side of their packaging which you can push in to keep the roll in place.
This is a hack my daughter and I tried a few weeks ago when we wanted to propagate our succulents. We poked the leaves through GLAD Wrap that we’d put over a jar filled with water. It’s only been a few weeks and already there are roots appearing!

Other clever hacks for baking paper:
- Use as a stick-free surface for rolling out dough
- Make into a funnel for pouring mixtures
- Use as storage between items in the freezer
- Make into a piping bag and use for decorating cakes
Cinnamon Crumb Cake
- Prep Time: 15 mins
- Cook Time: 50 mins
- Total Time: 1 hour 5 mins
- Yield: 1+12 1x
Ingredients
TOPPING
- 1 cup brown sugar
- 1/2 cup white sugar
- 1 tablespoon ground cinnamon
- 225g salted butter, melted
- 2 1/2 cups self raising flour
CAKE
- 175g butter, softened to room temperature
- 1 cup caster sugar
- 3 large eggs
- 1 teaspoon vanilla bean paste
- 300ml sour cream
- 2 1/2 cups self raising flour
Instructions
- Preheat oven to 180°C, fan-forced.
- Grease a round cake pan and line with baking paper.
- Grease 12-hole muffin pan and line each hole with baking paper.
- To make the crumb topping add brown sugar, white sugar and cinnamon into a small bowl.
- Pour in the melted butter, sift over flour and stir to combine. Don’t over mix, you want it to have clumps of crumbs. Set aside (as it’s sitting it will dry out, which is what you want).
- Meanwhile, in an electric mixer add butter and sugar. Mix on high speed for 2 minutes until pale and smooth. Scrape sides of the bowl.
- Add eggs, vanilla and sour cream, mix on medium speed until just combined.
- Sift flour over mixture, mix on low speed until just combined, do not over mix.
- Spoon large spoonfuls of batter into each muffin hole.
- Spread remaining batter into prepared cake tin.
- Sprinkle half the crumb topping over each muffin and the cake, remembering to keep it lumpy.
- Gently press the crumb into the batter.
- Then sprinkle remaining crumb over the muffins and cake.
- Bake muffins in oven for 20-25 or until golden and cooked through and bake cake for 40-50 minutes or until golden and cooked through.
- Allow to cool in pan for 5 minutes, then gently transfer to a wire rack to cool completely.